Showing posts with label Martha Stewart. Show all posts

Sunday, February 2, 2014

365 Days of Pinterest Day 29 - Valentines Day Gingerbread Men :)

365 Days of Pinterest Day 29 - Valentines Day Gingerbreadmen :)


I started trying to make these guys in December.  I wanted to send them as a gift to a friend.  Alas I couldn't find a recipe I  liked the taste of, then I just kept messing up the recipe .... So finally after many batches of not so perfect gingerbread men .. I have perfected the art!  ... but its February, so the candy canes are out and Iv added some fun hearts .. hence .. the Valentines Day gingerbread man :)

Yes I did find this recipe on Pinterest .. a Martha Stewart recipe, but the original called for coarse salt which stayed in chunks and didn't taste to great, so I replace it with table salt .. and perfection.


Ingredients:
  • 3 cups all-purpose flour, plus more for dusting
  • 1/2 teaspoon baking soda
  • 1/4 teaspoon baking powder
  • 8 tablespoons (1 stick) unsalted butter, softened
  • 1/2 cup packed dark-brown sugar
  • 2 teaspoons ground ginger
  • 2 teaspoons ground cinnamon
  • 3/4 teaspoon ground cloves
  • 1/2 teaspoon freshly ground pepper
  • 3/4 teaspoon table salt
  • 1 large egg
  • 3/4 cup  molasses

Edible Ingredients for decorating;
       I bought fun toppings from the bulk barn


       I also bought Wiltons Valentines Day mix from Micheals


       ~Conversations hear candies
       ~Heart candies


Frosting;

I tried three methods and found the Wiltons icing in a piping bag with a tip the easiest method.  The pumps in the cans came out too fast to control.  The Cake Mate brand does not dry hard, it stays in a soft frosting consistency, so if you stack them on a plate or mail them to a friend the frosting will smear.

Wilton Icing in the jar or pump.


If you are going to use the jar you will need a icing bag and tip.  I bought mine from Micheals.  


Making the cookie;

Sift flour, baking soda, and baking powder into a medium bowl; set aside.                   
        Mix butter and sugar with an electric mixer on medium speed until fluffy, about 2 minutes; mix in spices and salt. Mix in egg and molasses, occasionally scraping down sides of bowl. Add flour mixture; mix on low speed until combined. Divide dough in half; pat into two disks. Wrap in plastic wrap; refrigerate 1 hour.

        Preheat oven to 350 degrees. On a lightly floured surface, roll out dough to 1/8 to 1/4 inch thick.


Now Decorate;

Pipe on your frosting.  In the photo I'm using the Wiltons icing from the jar in a bag.

If you are using the Cake Mate icing from the can you can sprinkle the toppings directly on the cookie. 


 If its the Wiltons iceing you will have to put the toppings in a plate.  


Press your man into the toppings.

next use the iceing like glue to attach the eyes and buttons


Finito!!
Super Cute


Tuesday, November 19, 2013

Day 28 DIY Holiday Snowglobe Snowman, Christmas gift

Day 28 Holiday Snowman Snowglobe :)


I made these little guys after I did the snowglobe reindeer in my previous post .. so cute ..  This little snow globe would make a lovely gift or decoration and kids will love to make it as well for a fun Christmas craft!


What you will need;
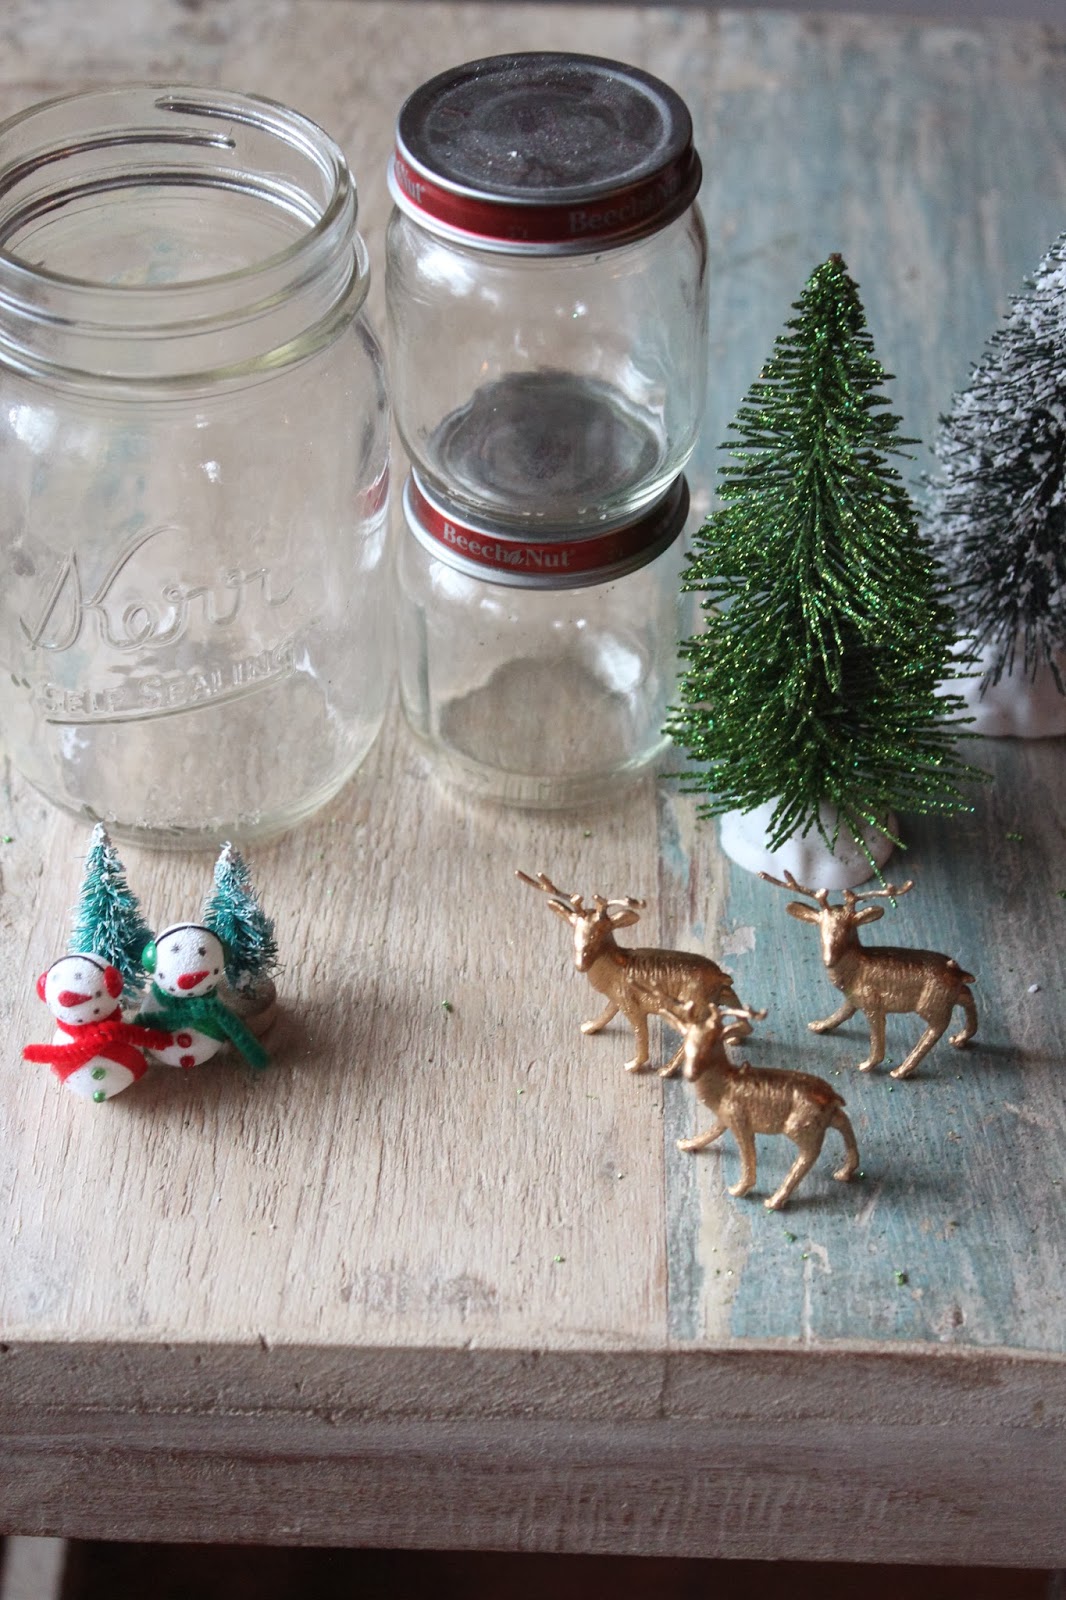
~ a jar, I used a baby food jar reduce reuse recycle
~ glue gun and liquid glue (I used E6000)
~ burlap, mine was from Michaels and has this amazing gold glitter too it!
~ snow flakes you can find at most dollar stores or craft stores
~ Twine or ribbon (mine is from Micheals, its hemp twine with metallic threads .. sparkle!)
~ miniature figurines .. at this time of year they are everywhere, mine are from AC Moors
~ a small piece of wood or foam 1"
~ glitter!  

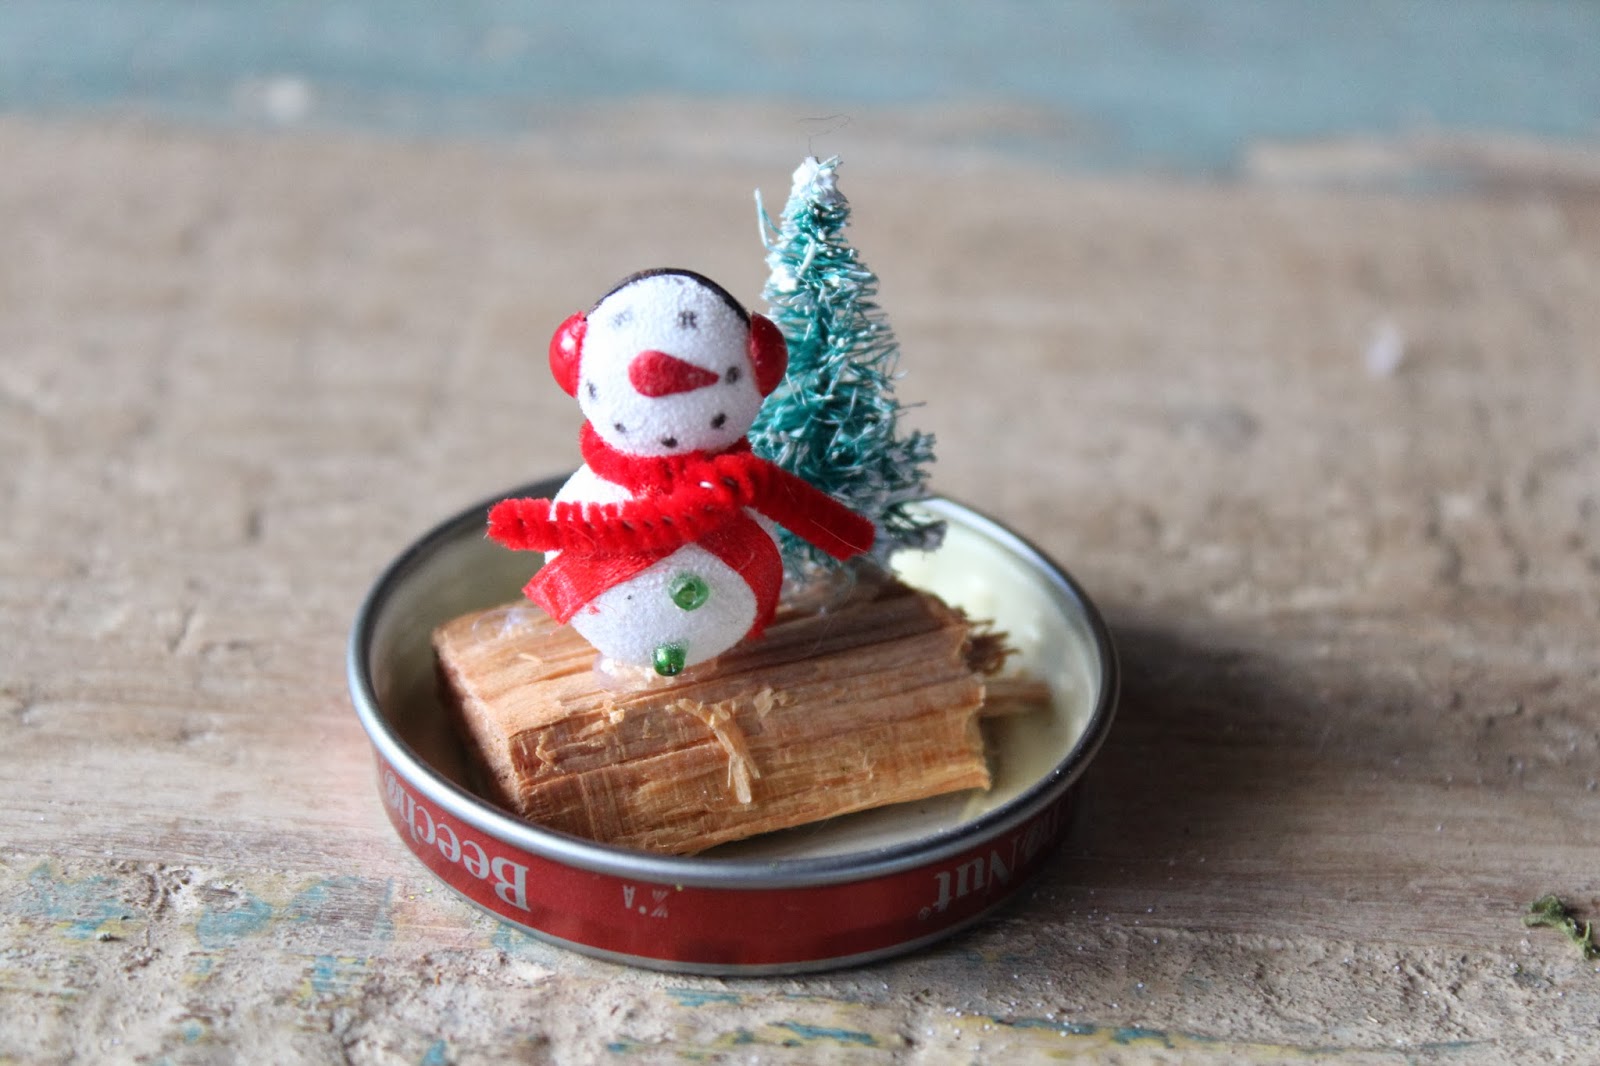
Your scene will be set on the inside of your lid as your jar will be upside down. glue your wood or foam to the inside of the lid, your snowman will stand on this .. it will give him height so he is not hidden under the lip of the lid.


                 Next Glue your snowman and tree to your wood.  
I used a glue gun.


Now take your liquid glue .. I used E600, and cover your wood and whatever part of the lid shows .. again making sure to leave room for the jar to fit ontop.


let it snow .. 


cover your scene in snow and puch it down with your fingers so it can attach to the glue, of course you'll still have lots of loose snow for flurries :)


Glitter time .. sprinle your glitter on top, as much as you'd like.


I added these amazing gold and silver glitter stars too


 put your jar on top .. its good to add a little E6000 to the track so no little ones can unscrew it.


now measure your burlap piece .. aout 1/2" larger then the lid or enough to cover whatever size your lid is.


Glue your burlap onto your lid.  I put one dot of glue in the center of the lid and then worked in sections glueing along the outer edge of the lid.


look at how pretty it is with the gold thread!


Lastly wrap your twine or whatever ribbon you choose around the burlap ..
I used white with silver thread :)


walaa! whimsical, cute .. I love this!


Day 27 Snowglobe Reindeer

Day 27 Reindeer Holiday Snowglobe 


Im so excited Christmas is coming I want to make all sorts of pretty whimsical gifts for family and friends .. so all my crafting from here to Christmas will be lovely holiday treats! I bought these super cute little reindeer and some 'reindeer moss' .. thats what its called.  I decided to make snow globes with them since I loved the little necklace so much.


What you will need
~ mini reindeer.  I found mine at AC Moores but around his time of year you can find pretty miniatures everywhere .. (I also found thise teeny trees and snowmen)
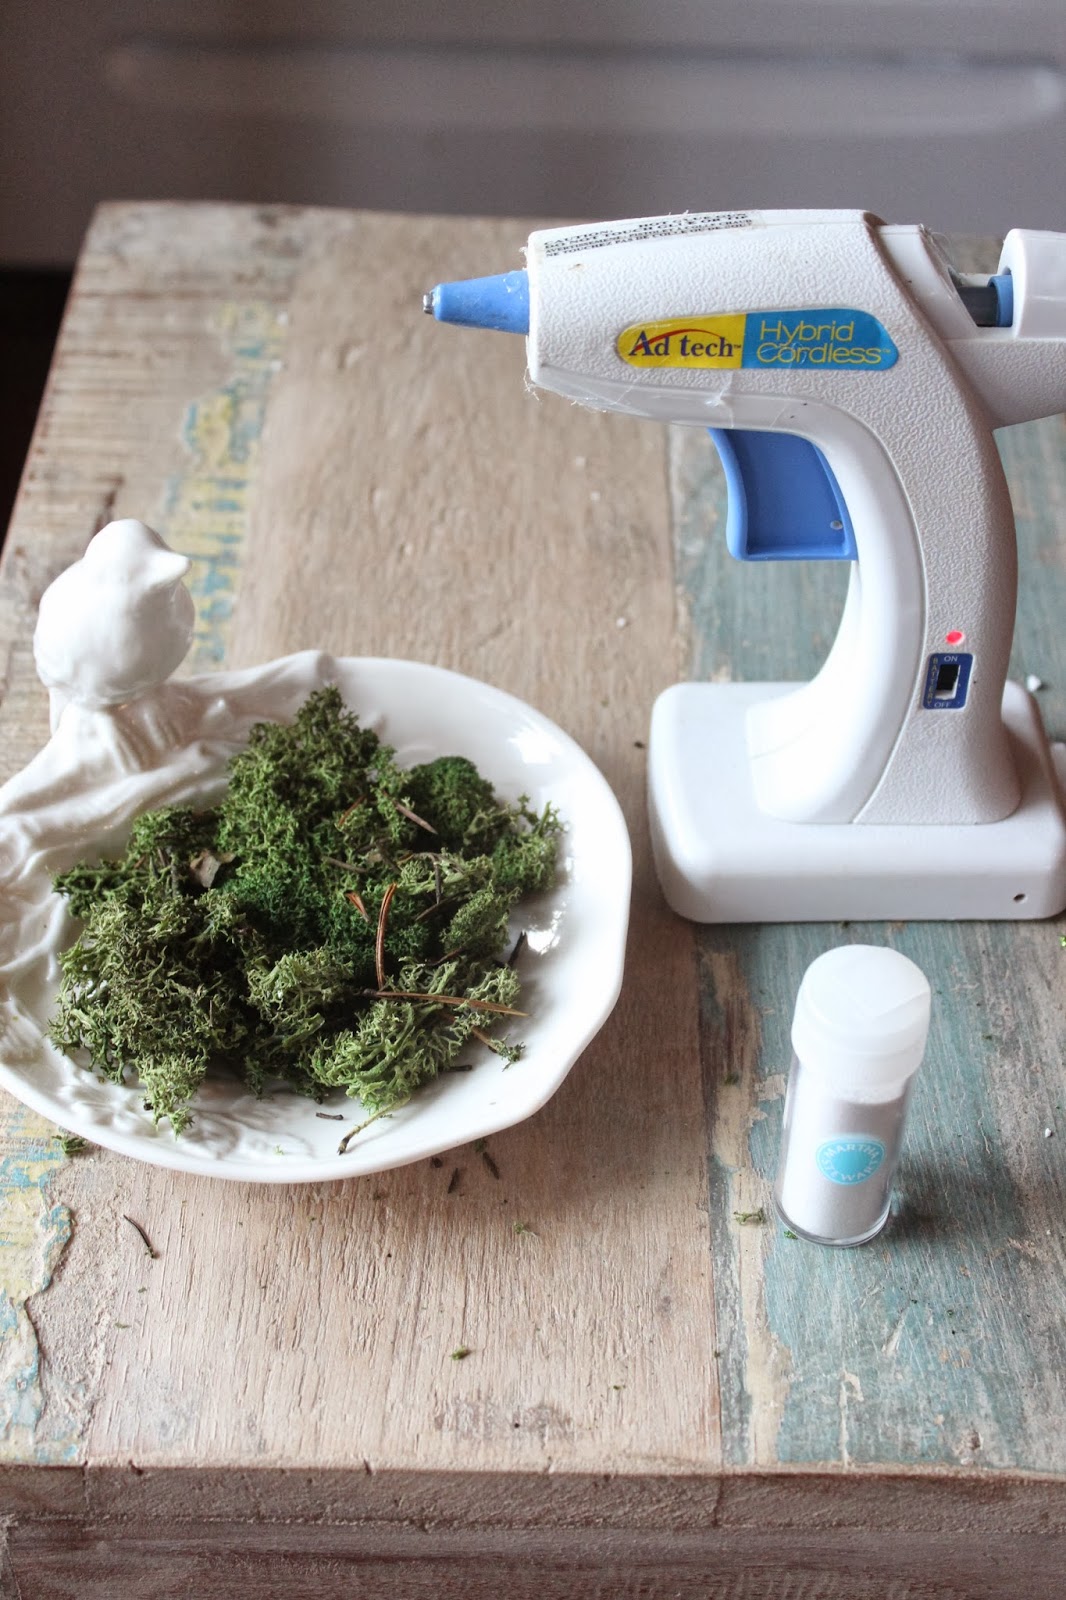
~ Reindeer Moss .. most craft stores carry this .. its real moss .. so pretty
~ glue gun
~ Jar .. I used a baby food jar but if you want to get fancy Michaels has all different shapes and sizes.
~ Snow dust (craft store)
~ fine white glitter (craft store, I used Martha's)
~ Burlap .. I bought this gorgeous burlap with gold threads running through it at Michaels .. sparkle sparkle
~ Hemp Twine, Michaels .. also has gold and copper threads running through it :)
~ I tiny piece of wood

Lets begin
You'l be creating your scene on the lid of the jar.  Start by making sure your wood fits into the lid and the jar still closes on top.  The wood will give your reindeer a little height so he does not get lost under the lid.  Glue on your wood with a glue gun .. make sure the top is flush with the lid or your deer will stand crooked.


Next glue your deers we little hoofs to the wood ..


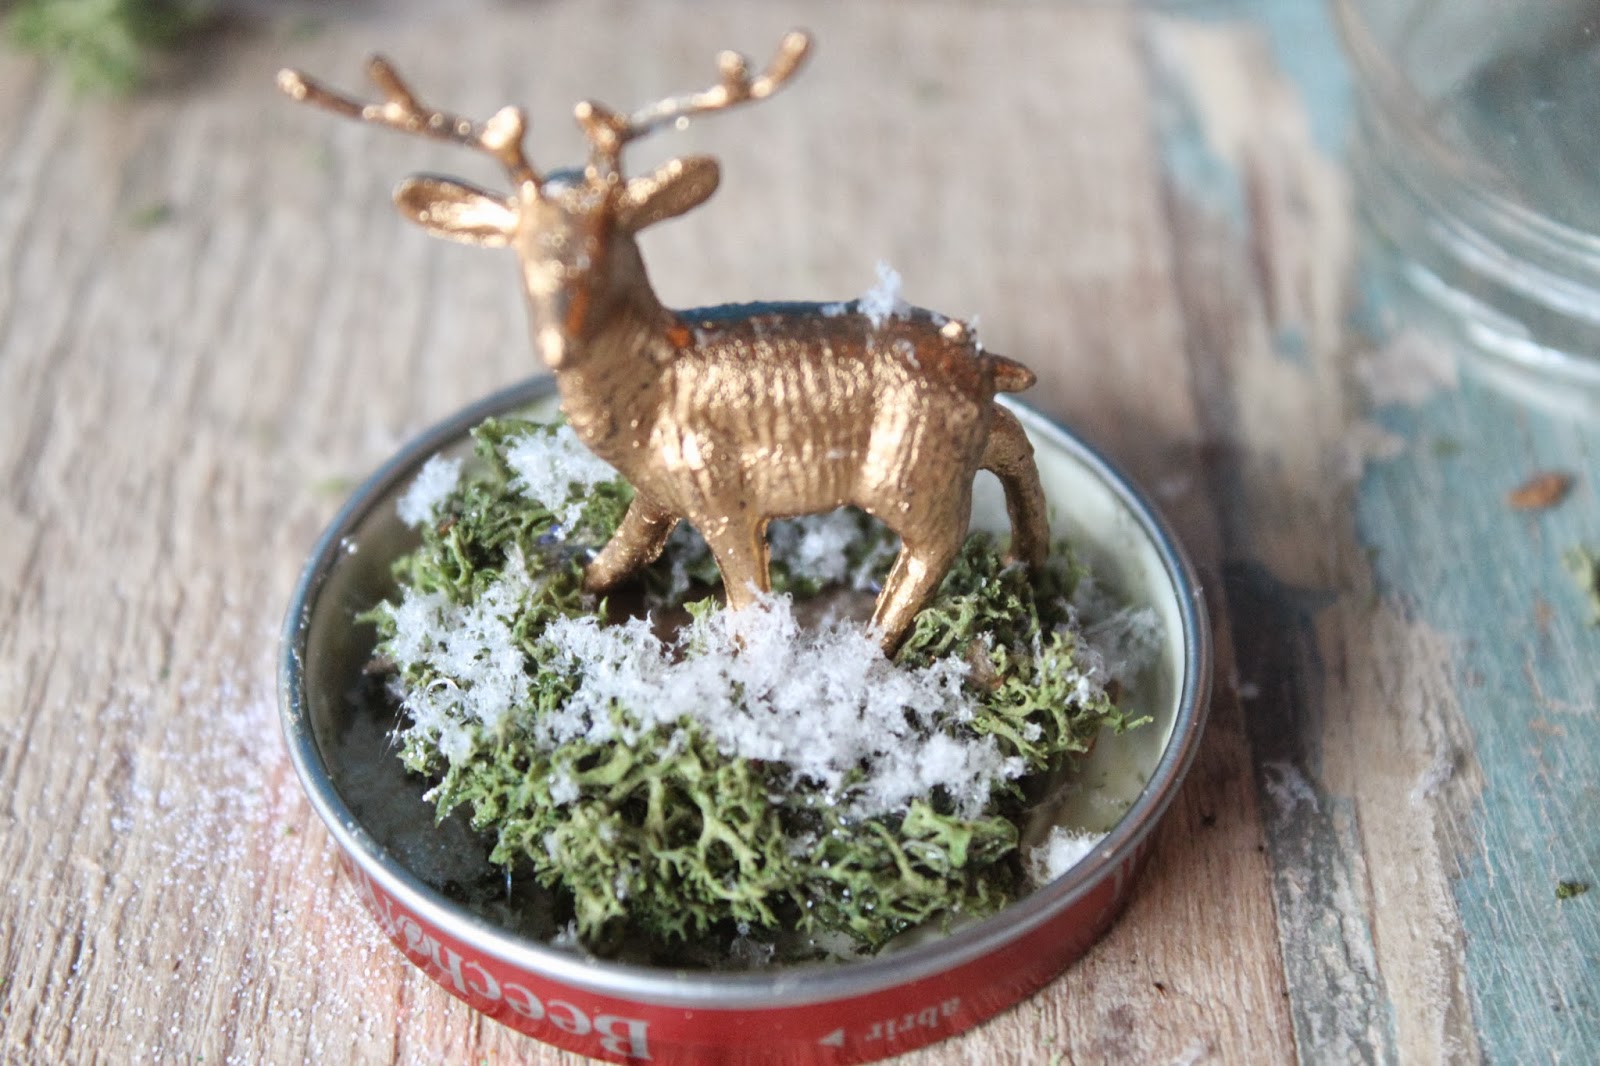
Begin to moss ify.  I took very small bits of moss, dropped a little glue on the bottom and added them to my wood and lid. 


 Make sure you do not add to much so your lid can still close when the jar is placed on top.


pretty .. now let it snow .. add your snow dust.


... now a little magic shimmer, what is a craft without glitter??  


I added these tiny red sequins as well .. I wanted a pop of color that looked like berries.


Now measure your lid on the burlap.  I traced it with a pencil, but Martha has a disappearing marker that I need to get, perfect for something like this. 


cut about 1/2" around the circle or whatever length will cover your jars lid.


look at the pretty sparkle!


Now small sections at a time apply your glue and attach your burlap to your lid.

Tie on your hemp .. of course you can use and string or ribbon your like ..


shake a little to get a shimmering storm started around your deer .. the glitter will catch on the glass just enough for the whimsy effect.


Walaa . so pretty!  Your reindeer snow globe.  

favorite thing ('these are a few..');


... love this over sized clock I just found at Home Sense .. Im doing the French Provincial look for my new house .. my husband just put in those hardwood floors you see and that beam is made of 200 year old barn wood we found when we removed a wall (along with lath and plaster, my new house is 203 years old)