Showing posts with label Mason Jars. Show all posts

Tuesday, November 19, 2013

Day 27 Snowglobe Reindeer

Day 27 Reindeer Holiday Snowglobe 


Im so excited Christmas is coming I want to make all sorts of pretty whimsical gifts for family and friends .. so all my crafting from here to Christmas will be lovely holiday treats! I bought these super cute little reindeer and some 'reindeer moss' .. thats what its called.  I decided to make snow globes with them since I loved the little necklace so much.


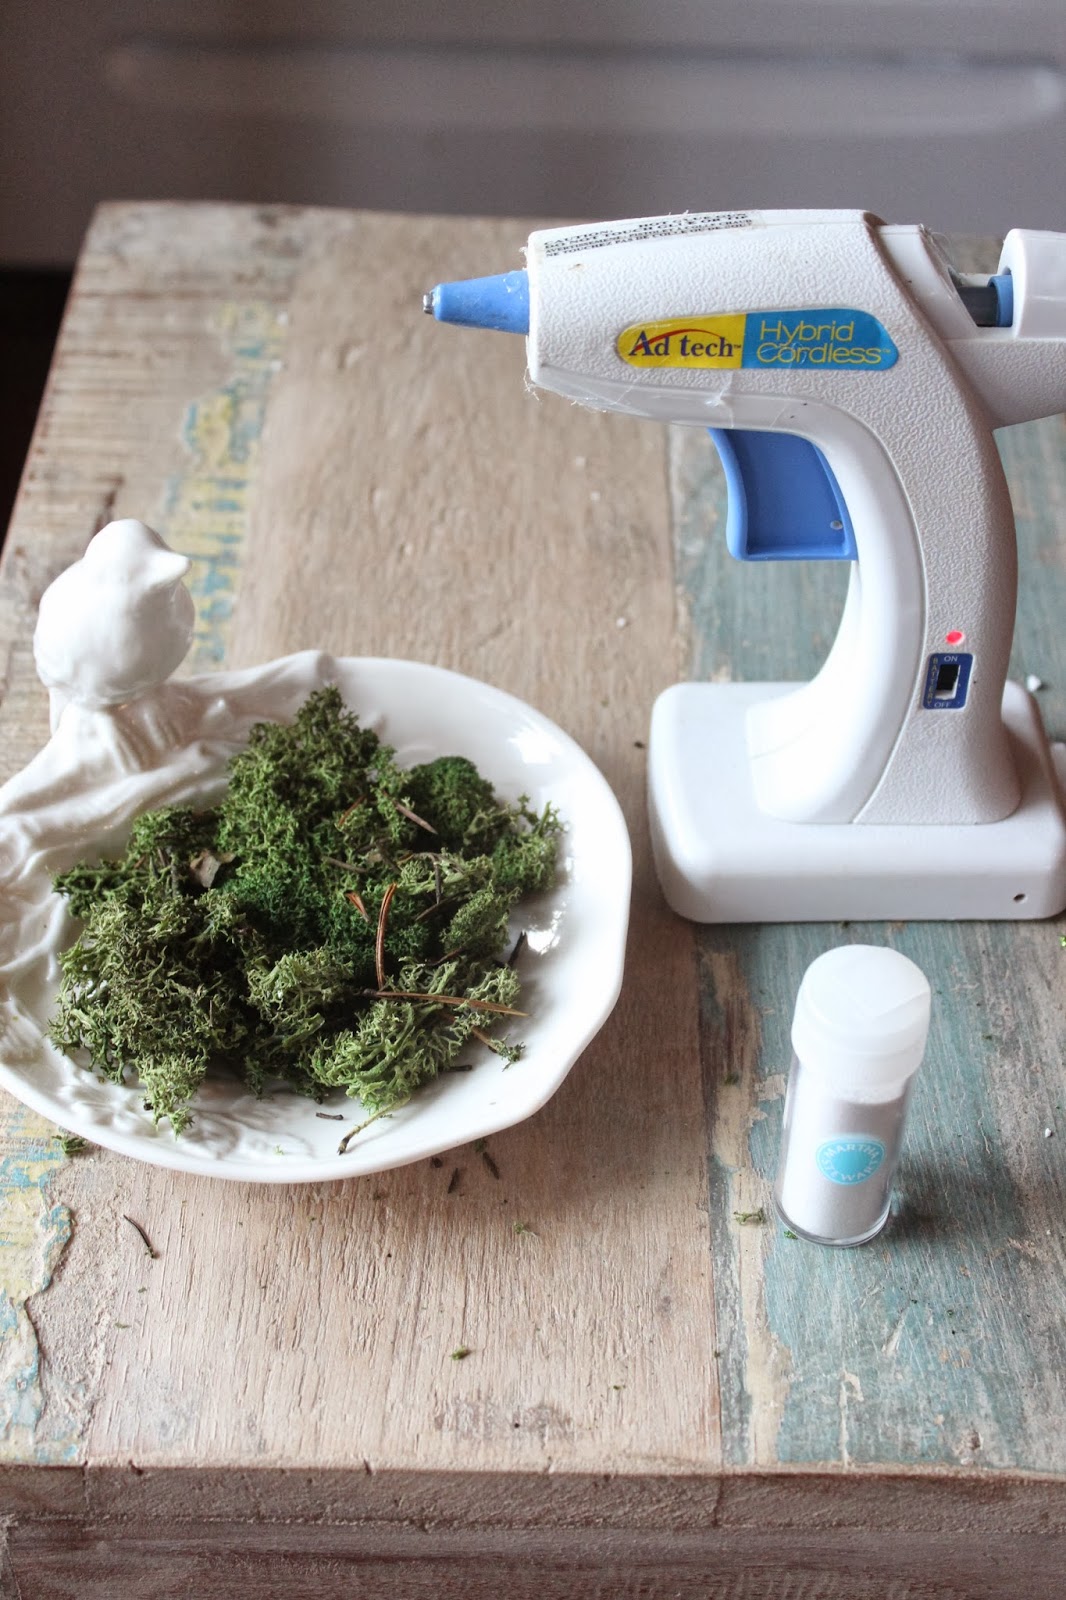
What you will need
~ mini reindeer.  I found mine at AC Moores but around his time of year you can find pretty miniatures everywhere .. (I also found thise teeny trees and snowmen)
~ Reindeer Moss .. most craft stores carry this .. its real moss .. so pretty
~ glue gun
~ Jar .. I used a baby food jar but if you want to get fancy Michaels has all different shapes and sizes.
~ Snow dust (craft store)
~ fine white glitter (craft store, I used Martha's)
~ Burlap .. I bought this gorgeous burlap with gold threads running through it at Michaels .. sparkle sparkle
~ Hemp Twine, Michaels .. also has gold and copper threads running through it :)
~ I tiny piece of wood

Lets begin
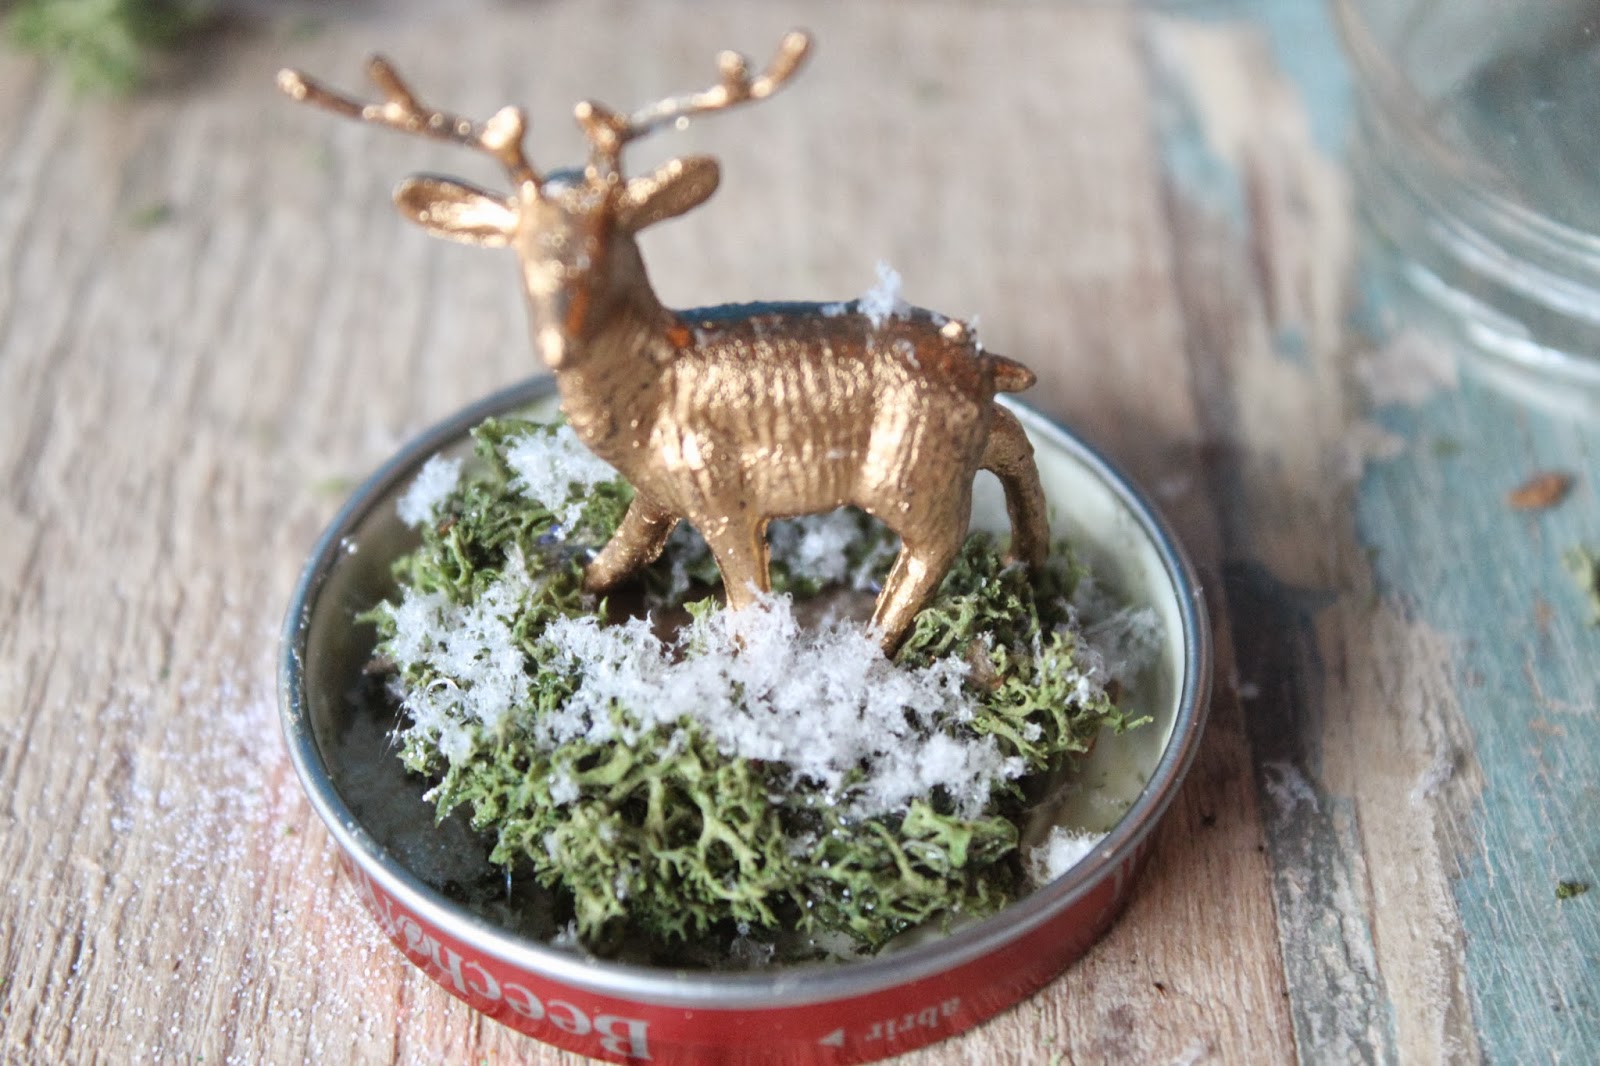
You'l be creating your scene on the lid of the jar.  Start by making sure your wood fits into the lid and the jar still closes on top.  The wood will give your reindeer a little height so he does not get lost under the lid.  Glue on your wood with a glue gun .. make sure the top is flush with the lid or your deer will stand crooked.


Next glue your deers we little hoofs to the wood ..


Begin to moss ify.  I took very small bits of moss, dropped a little glue on the bottom and added them to my wood and lid. 


 Make sure you do not add to much so your lid can still close when the jar is placed on top.


pretty .. now let it snow .. add your snow dust.


... now a little magic shimmer, what is a craft without glitter??  


I added these tiny red sequins as well .. I wanted a pop of color that looked like berries.


Now measure your lid on the burlap.  I traced it with a pencil, but Martha has a disappearing marker that I need to get, perfect for something like this. 


cut about 1/2" around the circle or whatever length will cover your jars lid.


look at the pretty sparkle!


Now small sections at a time apply your glue and attach your burlap to your lid.

Tie on your hemp .. of course you can use and string or ribbon your like ..


shake a little to get a shimmering storm started around your deer .. the glitter will catch on the glass just enough for the whimsy effect.


Walaa . so pretty!  Your reindeer snow globe.  

favorite thing ('these are a few..');


... love this over sized clock I just found at Home Sense .. Im doing the French Provincial look for my new house .. my husband just put in those hardwood floors you see and that beam is made of 200 year old barn wood we found when we removed a wall (along with lath and plaster, my new house is 203 years old)


Saturday, April 20, 2013

365 Days of Pinterest Day 20 - Shimmer Flower Vase


Well I took a detour from my 365 Days of Pinterest "Testing one Pin a Day for a Year" and Ill tell you why.  Pinterest inspired me to buy a home ... not just any home .. A 200 year old Heritage Home!  I saw in this home so much potential, so much DIY!  I cant wait to move in in June and blog all the wild and crazy adventures.  I also sold my town house.   It sold in less then 24 hours with 4 bids and ended at $18,000 more then the asking price.  We spent one month completely renovating and staging on a shoestring budget.  I used so many tips and tricks from Pinterest for renovating, organizing beautifying and staging!  I will be sharing them soon.


SO NOWWWW without further ado back to some fun DIY's!  YAY!!

I found this pin when looking for a gift to give my real estate agent and mortgage brokers.  All extremely wonderful and inspirational women.

Sparkle Vase!!! oo la la .. nothing like sparkle ..

What you will need:
~ A cute vase (I bought my mini mason jar style vases from the dollar store .. so cute)
~ Flowers (I choose the ever delicate and gorgeous hydrangeas for my adult gifts and fun colorful Gerbera's I gave to my daughter and her friends for their high school talent show)
~ GLITTER!!!  Of course I used Martha Stewarts Hexagon Glitter from Michaels purchased with my 40% off coupon as the glitter is almost $30.00 for a 12 pack. worth it
~ ribbon. I used pretty shimmer ribbon for the Gerberas and rustic woven burlap ribbons for the shabby chic Hydrangeas


The rest is pretty self explanitory .. 

ribbon on vase


glitter in vase


water in vase

flower in vase.


I filled the vases half way and gifted them in a tiny brown bag .. very cute.

Wa laaa ... glitter and fresh flowers .. such a pretty happy gift.. and when you want a little extra magic you swirl the water in the vase around .. instant glitter globe effect!  makes me smile!


  find of the week .. pretty vintage butterfly serving dish from a thrift shop :)


Thursday, February 21, 2013

365 Days of Pinterest Day 16 ~ Beach Glass Mason Jars


Beach Glass Mason Jars


wooo hooo day 16 of my 365 Days of Pinterest ... and I bought my first house!  .. umm , okay I know thats off the subject but just had to say ... I'll get back into that in later blog post .. (200 year old Heritage Home DIY all the way!!!!!) ... back to the matter at hand ..

Sea Glass .. I love this pin!  but there was ALOT of tweaking to be done from the original Pinterest Post so lets begin!


WHAT YOU WILL NEED
mason jars (or any glass item you'd like to paint)
Elmers Glue
food coloring


I had some canning jars from pickle making days .. I also peeled back the labels on some jars in my fridge and found many of them to be pretty darn charming 


I soaked my food jars in super hot soapy water for 10 min ... labels peeled of easily


~ use one 1 part glue to 1/2 part water ..  1 tbs glue, 1/2 tbs water ... the amount you use depends on the amount of glass you will be painting
(the original pin called for 1 tsp glue 2 1/2 tsp water .. not gonna work, it was thin and separated on the glass)


add your food color .. I used one drop per color


make sure your glass is dry .. water will cause it to separate


paint away ... 


after letting the jars sit a few min I saw a few little spots were the glue had separated so I painted over them again .. no extra paint, just a dry brush ..


 this is how it will look as its drying, streaky, but dont fret .. the streaks will go away as it dries


my curious cat Monkey.. (once a stray now a prince, my prince ) .. 


wa laaaaa!!


are you kidding me, I never imagined they would turn out so GORGEOUS!


(flowers from my hubby on Valentine day )


WARNING .... You drop any water on these and they are ca puut!  and there is no way of waterproofing them .. I covered one in a glaze and it changed the look completely .. turned it clear  ..

So no water .. and they are very fragile .. cats knocked mine onto the ground and the glue / paint peeled of .. other then that they are GORGEOUS and so easy to make .. 

Verdict; Fun, Easy, Cheap, Beautiful .. they catch the light and glow so nice!

LOVE :)