Showing posts with label Summer. Show all posts

Thursday, July 7, 2016

Easy No Bake Chocolate "Nice' Cream Cake .. Whole Food, Healthy, Guilt Free

Happiness is ... Healthy desserts!!

I love this recipe and I must say its the prettiest dessert Iv ever made.  5 stars in the impress others category and .... its SUPER quick and easy to make!!
oh and its HEALTHY.


Its a hot Thursday in July .... scorching Thursday in July, but I refuse to turn on the AC.  Yup Im one of those non AC-ers.  I love the sound of the breeze blowing through the trees in my backyard and the birds.  Therefor I will sloth it out today as I do everything at 30% speed.  With a cold Berry water in hand and my best friend Bear by my side, on the patio, I shall survive :) 


So back to my Nice Cream Cake .. 
I was always a dessert gal, but traditional desserts with the refined sugar and oils never did me any good.  Hence my obsession with healthy desserts.  In my eyes it just cant get better.  A sweet treat that is actually good for you and wont put the love in your handles.  
With these wonderful ingredients this recipe serves up a kicking does of antioxidants, rich in fiber, vitamins C,E, B1, B3 & B6/ Minerals including Iron, selenium, calcium, magnesium & phosphorous.  
Plus its lactose free.


I used a glass pie plate but next time I will use a spring form cake pan 


I used frozen berries (defrosted with a little maple syrup) at first but the fresh berries were so so much better.


I also made cocnut whipped cream ... HEAVVVENNNNN! I'll post the recipe for that soon


side note. put on the whiped coconut cream just before eatinng, it freezes as hard as a rock ..


Ingredients:
The Crust
       1/2 cup cashews
       1/2 cup hazelnuts 
       10 medjool dates pitted
       1/4 tsp sea salt
       1/4 cup coconut oil
For Nice Cream filling:
       20 medjool dates pitted
       1 can coconut milk (not lite)
       5 tbs cocoa powder
       2 tbs cornstarch or arrowroot powder
       2 tbs nut butter (peanut, almond, cashew)  the peanut butter                  will have a distinct taste, the others will not.
       2 tbs agave nectar (or maple syrup)
       1 tbs vanilla extract
       1/2 tsp fine grain sea salt
fresh strawberries to garnish
coconut whipped cream

*You can add 2 tbs espresso powder if you'd like for coffee nice cream which goes amazing with date "caramel" (Ill post recipe later but you can search Pinterest for "vegan caramel sauce"


Directions;
1. Grease 9 inch pie pan or 10 inch spring form cake pan with coconut oil.
2.  in food processor, process crust ingredients together.  It should be crumbly and sticky.  Press the crust firmly into the pie pan.  If the mixture is dry you can add a little agave.
3.  Wipe down your processor and add the nice cream ingredients.  process until good and smooth.
4. Pour the nice cream mixture into the pie dish.
5. Place in freezer.  I let it sit uncovered until its completely firm.  Then I cover it.

Thats it! When its completely frozen, wa-laaaa!!  add your strawberries and your good to go.. Guilt free happiness!!  

I was thinking this nice cream filling would be good between two cookies as an ice cream sandwich with some chocolate chips .. endless possibilities :))

Tell me if you like it and any variations you make!


MY BFF Bear.  This man is 14!  We just found out he has kidney disease :(  but he too now eats whole foods like the rest of us ... no more kibble .. and hes doing great! Just loooook at that face!!!  <3


xo Theresa


Thursday, May 30, 2013

365 Days of Pinterest Day 23 - DIY Galaxy Sneakers!


COOOOOOOLLLL :)


I did it, I did it, I really really did it!!
well way back when my daughter asked for these "galaxy sneakers"  as I soon discovered they were't something a large company was making, they were all hand painted, selling on sites like Etsy.  So I had a "I can do that moment" ..  I loaded up on images from Pinterest and away I went.  Day 23 of my 365 days of Pinterest (testing Pinterest pins)  - DIY Galaxy Sneakers!
What You Will Need
~ sneakerzzzz ... most people prefer converse or Vans, the hipsters, but Iv seen everything from ballet flats to wedges .. this DIY is stricktly for canvase / sneaker material as the paint would react differnt to leather or pleather.
~ Tulip Fabric Spray .. this is uber important for two reason's .. it sprays little 'stars' and it is thin, allowing you to blend and layer without getting CHUNKY
~ Tulip Soft Fabric Paint in White Matte ... very specific again as you don't want a shiny finish 
~ Nail polish remover
~ Q Tips .. lots of em
~ tootpicks (for stars)
~ Time ... lots of it  :)


These are the colors I used .. originally I had orange in their but alas my 15 year old daughter was all ... "EWWWWW orange!"  and I was all "you dont appreciate me!!" :)


inspiration ..... my daughters pillow I used to guide me ... 


lets begin  ....


Start by spraying on some little white 'stars" (as you can see I was half way done with the sneaker when I decided to take blog photos)


next take your matte soft white fabric paint and your tooth pick


 make more distinct small round stars (dots)


 and the larger stars 
for these I made a place a thick dot of paint in the center then 'scratched' it out to the side with the toothpick.


*****   this is important **** 
The tulip fabric spray paint will fade, be absorbed by the shoe as it dries.. this will allow you to layer.
The tulip soft matte fabric paint will not fade or change .. it is thicker and more permanent


Now take your Q tip and your Matte Fabric paint and make little "clouds"  this will be a base for your colored spray paint .. if you put the spray paint directly on the fabric it will disappear as it dries.


dont let it dry .... it may dry a little in the process, but go ahead and start adding your colors with a Q tip (the spray paint)


If at any point you feel you've added too much paint and its getting CHUNKY .. you can do damage. load a Q tip up with nail polish remover and blot blot blot 


The nail polish remover should also be used to remove the paint from the rubber sole.


let them sit for a bit, dry a bit .. then repeat  ...


Base ...


color...


spray little stars with the spray fabric paint .. dot little stars with the matte white ...


blend


 This is a wabi sabi thing .. keep workin at it till you get the desired effect ... I originally did this .. a subtle version ..this was achieved by using less Matte White base ..


but my daughter requeted the colors to be more bold so I re touched them ...

and wa la


Verdict .. time consuming but its worth it if you don't want to spend $100 to get them on Etsy :)

Monday, May 27, 2013

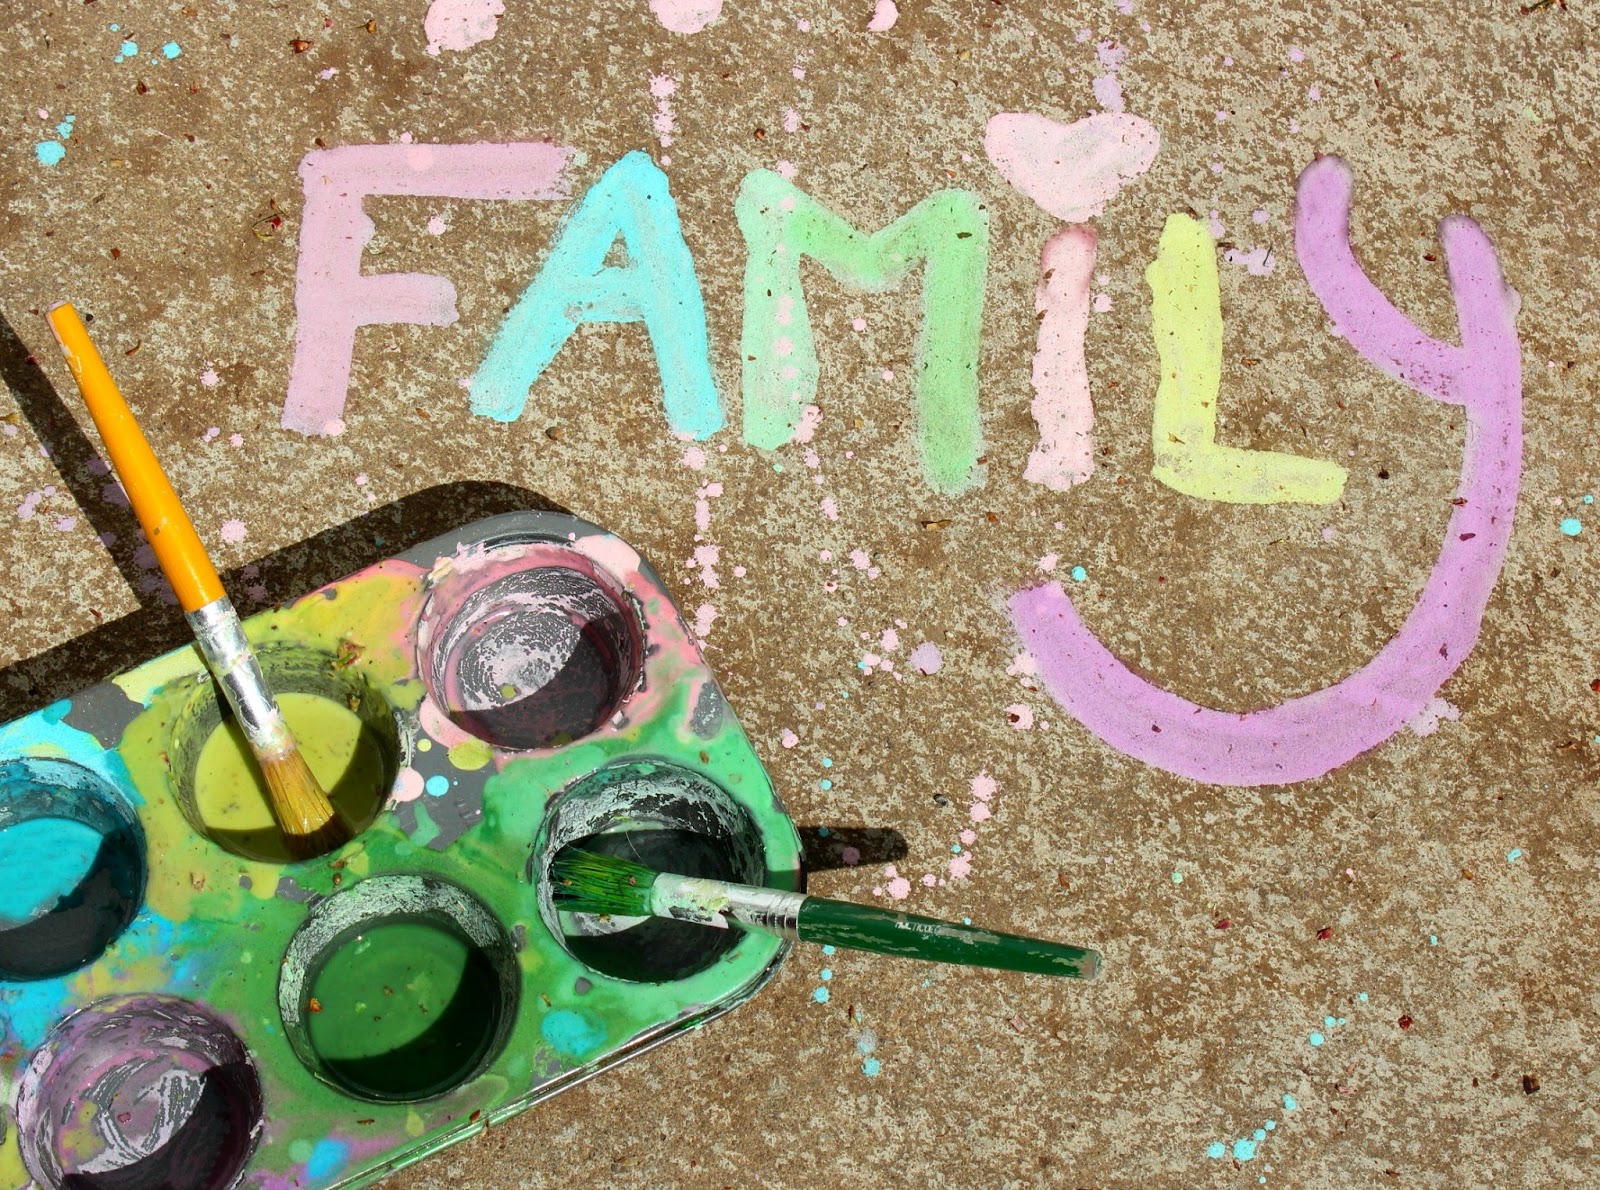
365 Days of Pinterest Day 22 - DIY SIDEWALK PAINT :)

Cute Cute Cute 


Day 21 of my 365 days of testing interesting Pinterest Pins and this is one for the family :)  .. Sidewalk Paint!!!  Yup sidewalk paint not sidewalk chalk .. 


why do we do these things?.....


so they will "GET OFF YOUR PHONEEEEE!!!"


WHAT YOU WILL NEED
Corn Startch
Water
Food color
Paint brushes .. big ones from the dollar store will do
a cupcake tin
bowl for mixin


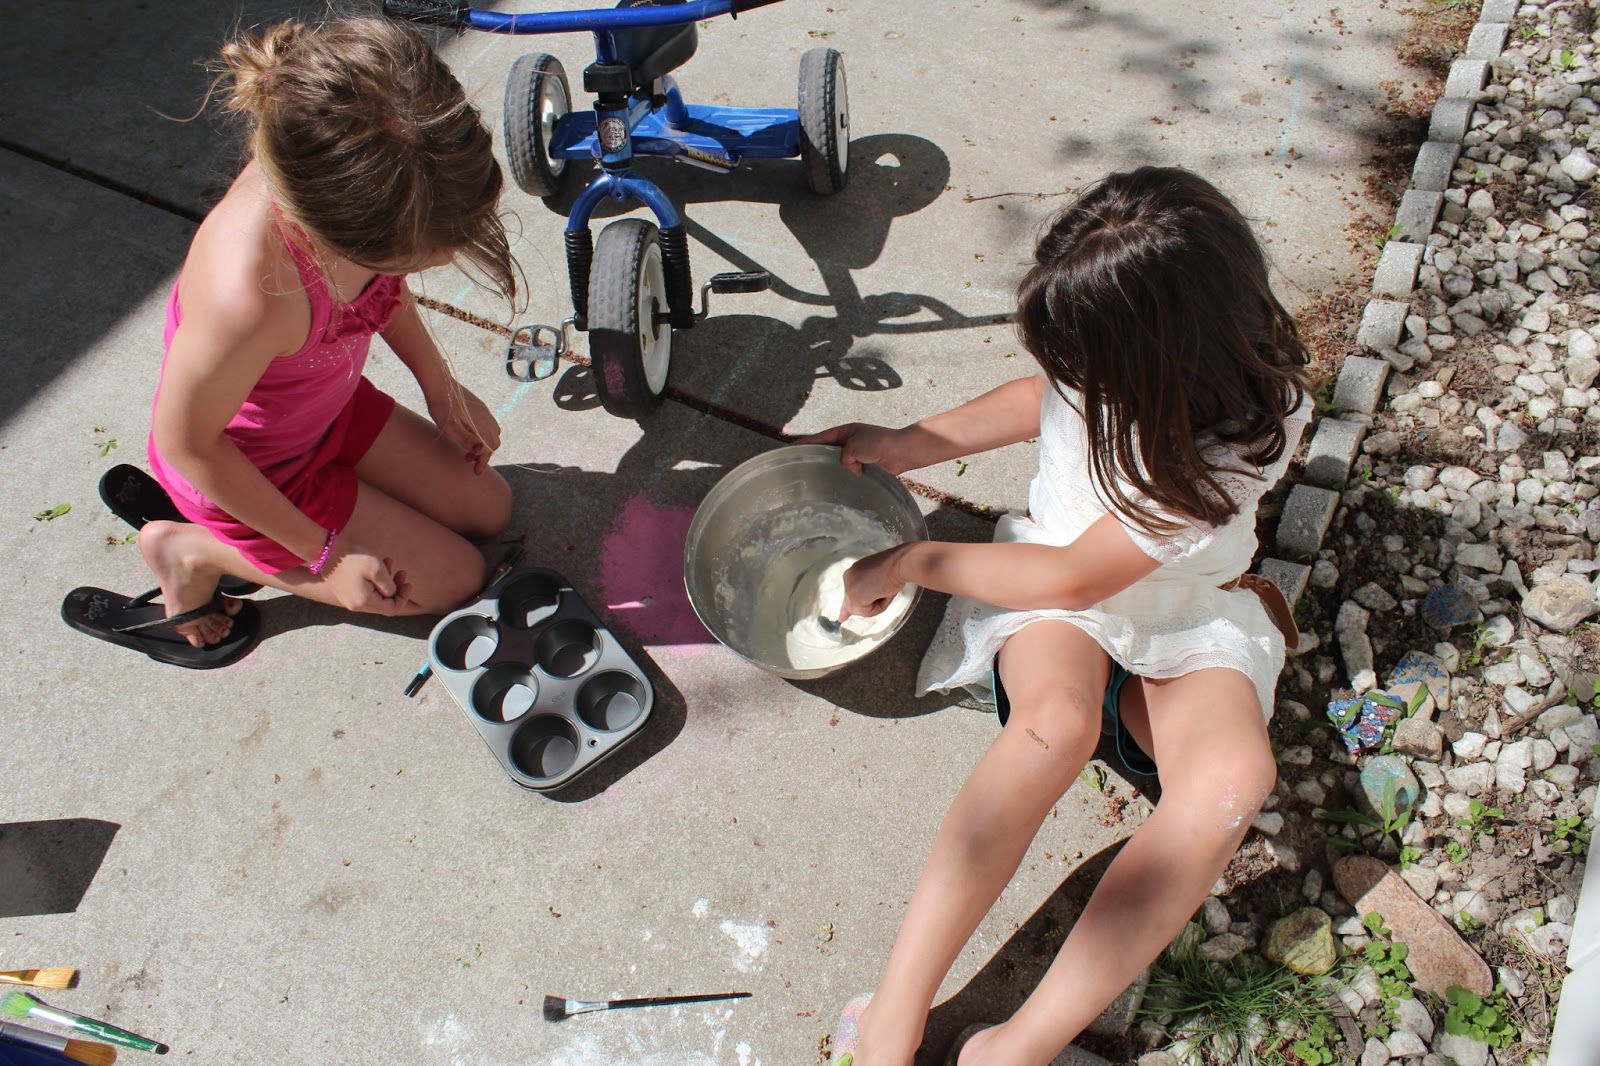
Start by mixing one part water and one part corn startch in a big bowl ...


I let my nieces and nephews do this in the backyard .. I think mixing the concoctioin was just as fun if not more fun then actually painting with it ..


mix mix mix


put your 'paint' in a cupcake baking tin


drop in your food color .. do you know that McCormick and Betty Crocker both have neon food coloring!!!!  Perfect!


stir stir stir


 paint away


at first you may think that its not working as it will look a little translucent and lack color .. 


but as it dries ... then the real color comes out 


 .... Pants are optional


.... Dogs are a must


Pretty :)


Verdict .. great pin .. fun and easy, really works well .. very cheap and easy to clean .. 

can we  talk about the 203 year old home we bought now .. next time ..DIY my 200 year old French Provincial home ... cant wait!!!!
sneak peak ... my foyer!!  .... we have not moved in yet and the rest of the home is covered in ceiling to wall wallpaper .. so I may be hesitant to share those photos :)