Showing posts with label Pinterest. Show all posts

Thursday, July 7, 2016

Easy No Bake Chocolate "Nice' Cream Cake .. Whole Food, Healthy, Guilt Free

Happiness is ... Healthy desserts!!

I love this recipe and I must say its the prettiest dessert Iv ever made.  5 stars in the impress others category and .... its SUPER quick and easy to make!!
oh and its HEALTHY.


Its a hot Thursday in July .... scorching Thursday in July, but I refuse to turn on the AC.  Yup Im one of those non AC-ers.  I love the sound of the breeze blowing through the trees in my backyard and the birds.  Therefor I will sloth it out today as I do everything at 30% speed.  With a cold Berry water in hand and my best friend Bear by my side, on the patio, I shall survive :) 


So back to my Nice Cream Cake .. 
I was always a dessert gal, but traditional desserts with the refined sugar and oils never did me any good.  Hence my obsession with healthy desserts.  In my eyes it just cant get better.  A sweet treat that is actually good for you and wont put the love in your handles.  
With these wonderful ingredients this recipe serves up a kicking does of antioxidants, rich in fiber, vitamins C,E, B1, B3 & B6/ Minerals including Iron, selenium, calcium, magnesium & phosphorous.  
Plus its lactose free.


I used a glass pie plate but next time I will use a spring form cake pan 


I used frozen berries (defrosted with a little maple syrup) at first but the fresh berries were so so much better.


I also made cocnut whipped cream ... HEAVVVENNNNN! I'll post the recipe for that soon


side note. put on the whiped coconut cream just before eatinng, it freezes as hard as a rock ..


Ingredients:
The Crust
       1/2 cup cashews
       1/2 cup hazelnuts 
       10 medjool dates pitted
       1/4 tsp sea salt
       1/4 cup coconut oil
For Nice Cream filling:
       20 medjool dates pitted
       1 can coconut milk (not lite)
       5 tbs cocoa powder
       2 tbs cornstarch or arrowroot powder
       2 tbs nut butter (peanut, almond, cashew)  the peanut butter                  will have a distinct taste, the others will not.
       2 tbs agave nectar (or maple syrup)
       1 tbs vanilla extract
       1/2 tsp fine grain sea salt
fresh strawberries to garnish
coconut whipped cream

*You can add 2 tbs espresso powder if you'd like for coffee nice cream which goes amazing with date "caramel" (Ill post recipe later but you can search Pinterest for "vegan caramel sauce"


Directions;
1. Grease 9 inch pie pan or 10 inch spring form cake pan with coconut oil.
2.  in food processor, process crust ingredients together.  It should be crumbly and sticky.  Press the crust firmly into the pie pan.  If the mixture is dry you can add a little agave.
3.  Wipe down your processor and add the nice cream ingredients.  process until good and smooth.
4. Pour the nice cream mixture into the pie dish.
5. Place in freezer.  I let it sit uncovered until its completely firm.  Then I cover it.

Thats it! When its completely frozen, wa-laaaa!!  add your strawberries and your good to go.. Guilt free happiness!!  

I was thinking this nice cream filling would be good between two cookies as an ice cream sandwich with some chocolate chips .. endless possibilities :))

Tell me if you like it and any variations you make!


MY BFF Bear.  This man is 14!  We just found out he has kidney disease :(  but he too now eats whole foods like the rest of us ... no more kibble .. and hes doing great! Just loooook at that face!!!  <3


xo Theresa


Sunday, February 2, 2014

365 Days of Pinterest Day 29 - Valentines Day Gingerbread Men :)

365 Days of Pinterest Day 29 - Valentines Day Gingerbreadmen :)


I started trying to make these guys in December.  I wanted to send them as a gift to a friend.  Alas I couldn't find a recipe I  liked the taste of, then I just kept messing up the recipe .... So finally after many batches of not so perfect gingerbread men .. I have perfected the art!  ... but its February, so the candy canes are out and Iv added some fun hearts .. hence .. the Valentines Day gingerbread man :)

Yes I did find this recipe on Pinterest .. a Martha Stewart recipe, but the original called for coarse salt which stayed in chunks and didn't taste to great, so I replace it with table salt .. and perfection.


Ingredients:
  • 3 cups all-purpose flour, plus more for dusting
  • 1/2 teaspoon baking soda
  • 1/4 teaspoon baking powder
  • 8 tablespoons (1 stick) unsalted butter, softened
  • 1/2 cup packed dark-brown sugar
  • 2 teaspoons ground ginger
  • 2 teaspoons ground cinnamon
  • 3/4 teaspoon ground cloves
  • 1/2 teaspoon freshly ground pepper
  • 3/4 teaspoon table salt
  • 1 large egg
  • 3/4 cup  molasses

Edible Ingredients for decorating;
       I bought fun toppings from the bulk barn


       I also bought Wiltons Valentines Day mix from Micheals


       ~Conversations hear candies
       ~Heart candies


Frosting;

I tried three methods and found the Wiltons icing in a piping bag with a tip the easiest method.  The pumps in the cans came out too fast to control.  The Cake Mate brand does not dry hard, it stays in a soft frosting consistency, so if you stack them on a plate or mail them to a friend the frosting will smear.

Wilton Icing in the jar or pump.


If you are going to use the jar you will need a icing bag and tip.  I bought mine from Micheals.  


Making the cookie;

Sift flour, baking soda, and baking powder into a medium bowl; set aside.                   
        Mix butter and sugar with an electric mixer on medium speed until fluffy, about 2 minutes; mix in spices and salt. Mix in egg and molasses, occasionally scraping down sides of bowl. Add flour mixture; mix on low speed until combined. Divide dough in half; pat into two disks. Wrap in plastic wrap; refrigerate 1 hour.

        Preheat oven to 350 degrees. On a lightly floured surface, roll out dough to 1/8 to 1/4 inch thick.


Now Decorate;

Pipe on your frosting.  In the photo I'm using the Wiltons icing from the jar in a bag.

If you are using the Cake Mate icing from the can you can sprinkle the toppings directly on the cookie. 


 If its the Wiltons iceing you will have to put the toppings in a plate.  


Press your man into the toppings.

next use the iceing like glue to attach the eyes and buttons


Finito!!
Super Cute


Tuesday, November 19, 2013

365 Days of Pinterest Day 26 DIY Christmas Tree Snowglobe Necklace!!

Snow Globe DIY Christmas Tree Snowglobe Necklace!


 Yay!!!  Im almost at the end of my home renovations and Im so happy to finally have a little more time on my hands .. for crafting!  Recap .. I just bought a gorgeous 203 year old Colonial style home 4 months ago, we've had 120 days for massive home reno's ... its almost done!!!  I'll show you all my before and afters pics soon .. 

Iv decided all my crafting posts from now until Christmas will be DIY holiday gifts!  Iv seen so many amazing things on Pinterest I cant wait to try so lets begin .. 

Here they come! ....


What you will need:
~ small trees.  I found my trees at the dollar store but I also saw them in the diorama isle at Michaels. 
~ Small bottles, again I found my bottles at the dollar store (with beads in them) but I also saw them at Michaels in the 'Idea-Ology' line or you can get them here from Etsy  http://www.etsy.com/listing/112283804/10-small-glass-bottles-with-cork-and?ref=shop_home_feat
~ necklace finding and chain (Michaels ... my second home)
~  fine white or iridescent glitter, I used the Martha Stewart Craft Essentials 24 pack from Michaels .. use your coupon 40% off  :)
~ E6000 Glue or a Glue gun if you are a fast mover (I used E6000 because I was working with my nieces and nephews)
~wire clippers
~ toothpick


 I like to set some of the more difficult crafts I do with children "buffet" style.  I take one child at a time and we go down the line, each step layed out in order .. I find that kids really love the individual attention and time you spend with them one on one .. makes them feel special .. and they are.  Also if you have a more difficult or messy craft you can make sure 5 kids aren't sticking their hands in bowls and flinging glue and glitter at each other .. :)


 first trim the top of your tree off ... size up the tree next to your bottle to see what height you need then clip of the top.


glue the base of your tree.  Either E600 glue wich you will have to wait about 5 min to dry firm enough to continue or a glue gun for immediate gratification :)


I used E6000 so my niece could put the tree in herself .. sense of accomplishment .. priceless 


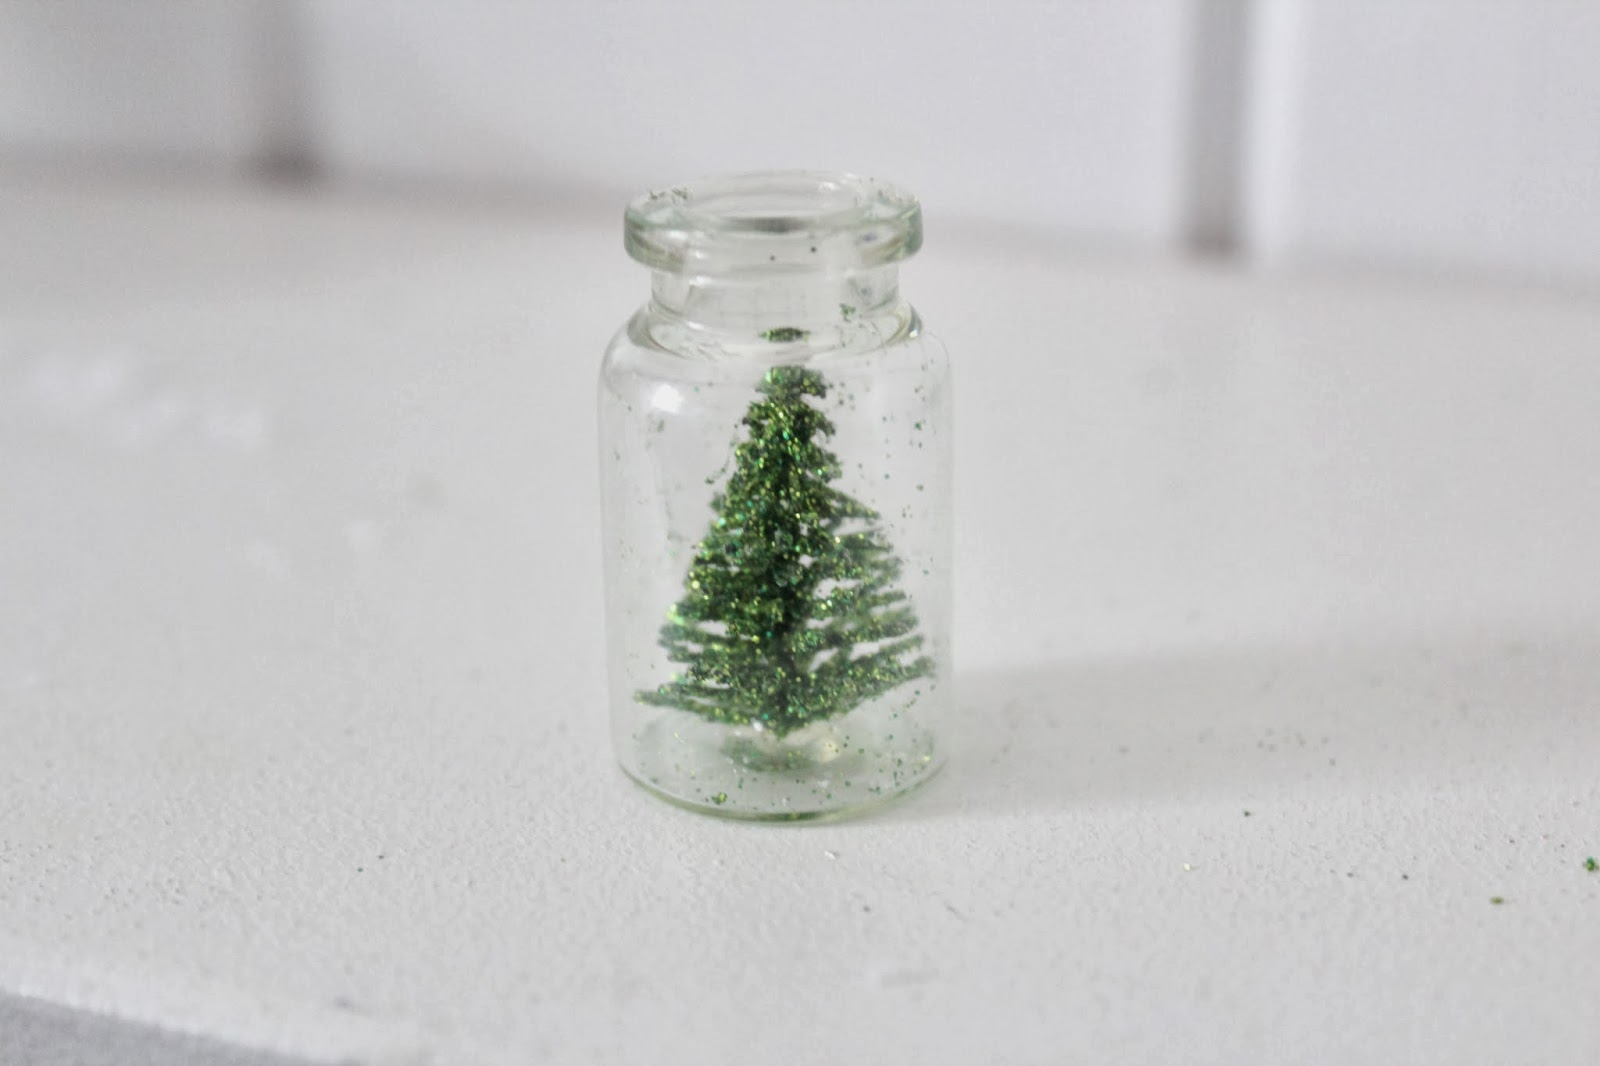
There she is .. tree in jar .. next up ... glitter ...


I put the glitter in a little bowl so the kids could pinch it out with their fingers and drop little amounts in the jar 


or if your plying solo .. sprinkle away 


next attach your necklace finding and loop to your cork top.  I trimmed mine with the wire clippers, dipped the end in E6000 for extra hold and then put it in the top.


attach to chain .. 
Walaa!!  The prettiest little tree in a bottle you've ever seen  A gorgeous gift!


In the first photo you see the necklace the children made with the glitter tree,  I used a more natural snow covered tree in mine below

 Verdict .. super fun and easy craft!  We all loved it .. inexpensive supplies .. makes a really nice whimsical winter gift .. have the kids give it to their teachers .. A+

Heres the original Pin .. thanks for the awesome inspirations!


Find of the week ...
I love this little birdie plate I picked up from Home Sense .. In the USA the store is called Home Goods .. I used it when I had my family over to serve little chocolate truffles my mother had made ..