Its been nearly 3 years since my last blog entry and so much has changed. 'I' have changed to be more specific, and I'm excited to share all my new discoveries and passions.
I'll post some photos of the amazing things I love and look forward to sharing with you :)

About 3 years ago I became very ill. For 2 years doctors searched for the "diagnosis". Test after test I sank into a very dark place of fear and pain. As time carried on and the testing continued, I started to look for my own answers. I began with nutrition. I spent hour after hour poring over information and studies. Peoples personal stories and experiences. It wasn't hard for me to see that my eating habits were far from healthy, although I had thought they were.

I also began to access my lifestyle. My stress level. Was I doing things in my life that truly made me happy? That gave me a sense of Joy and Peace? Not really. I was so focused on my business and career that I was forgetting to enjoy life. I worked all day and barley slept. Even if I sat down to watch TV in the evening Id still be working. I thought if I spent anytime doing anything other then working, cleaning etc, it was time wasted.


I remember laying in bed at night and being so wound up, all the ideas and to do's running through my head. My mind was never at rest. I took all of this into account and decided. IM GOING TO CHANGE.
A change not to impress anyone, not for any other reason but to find HAPPINESS. Medically I was told I had Lupus and Fibromyalgia. I also had sever degenerative arthritis in my spine.
I decided this was not my reality and began my path to natural wellness. I started with my diet. I said good by to all the refined sugars and oils. goodbye to all the processed foods, all the junk foods. I cleared out my pantry and fridge of all the franken-foods. I began a Whole Food Plant Based lifestyle.

This I believe has made THE MOST SIGNIFICANT change in my life!!! It wasn't long before I literally felt like a new person. My pain diminished. I had energy that I have NEVER experienced in my life. I began to glow from the inside. My mind cleared. My moods shifted. The anxiety went away. I can honestly say I began a new life. The life I had always wanted.


I also shifted "spiritually". I don't mean religion, but spirit. That happy place inside of us that is connected to nature and the Earth. I began to take time for myself. Took time for GRATITUDE. I realized I would be much more productive if I was happy and ultimately productivity was not the key to happiness. I slowed down. Took time to enjoy my tea. To sit in the sun and play in my garden. Listened to the wind, took my dog for walks, read books, mediation, yoga ... I began to LOVE MY LIFE.

So that brings us to today, where am I at? I no longer see doctors on a weekly basis. I feel amazing. Although I do have some back pain here and there, who wouldn't after 7 car accidents, yes I got in another car accident 5 months ago, it wasn't my fault :)). But between the yoga and my awesome anti inflammatory Ginger Turmeric tea I don't need any medication. I am 38 and look younger now then I did 10 years ago. I'm grateful! Grateful for having been in pain, grateful for having a second chance to live this beautiful life. Grateful to have found the healing power of food and happiness and I cant wait to share my continued journey
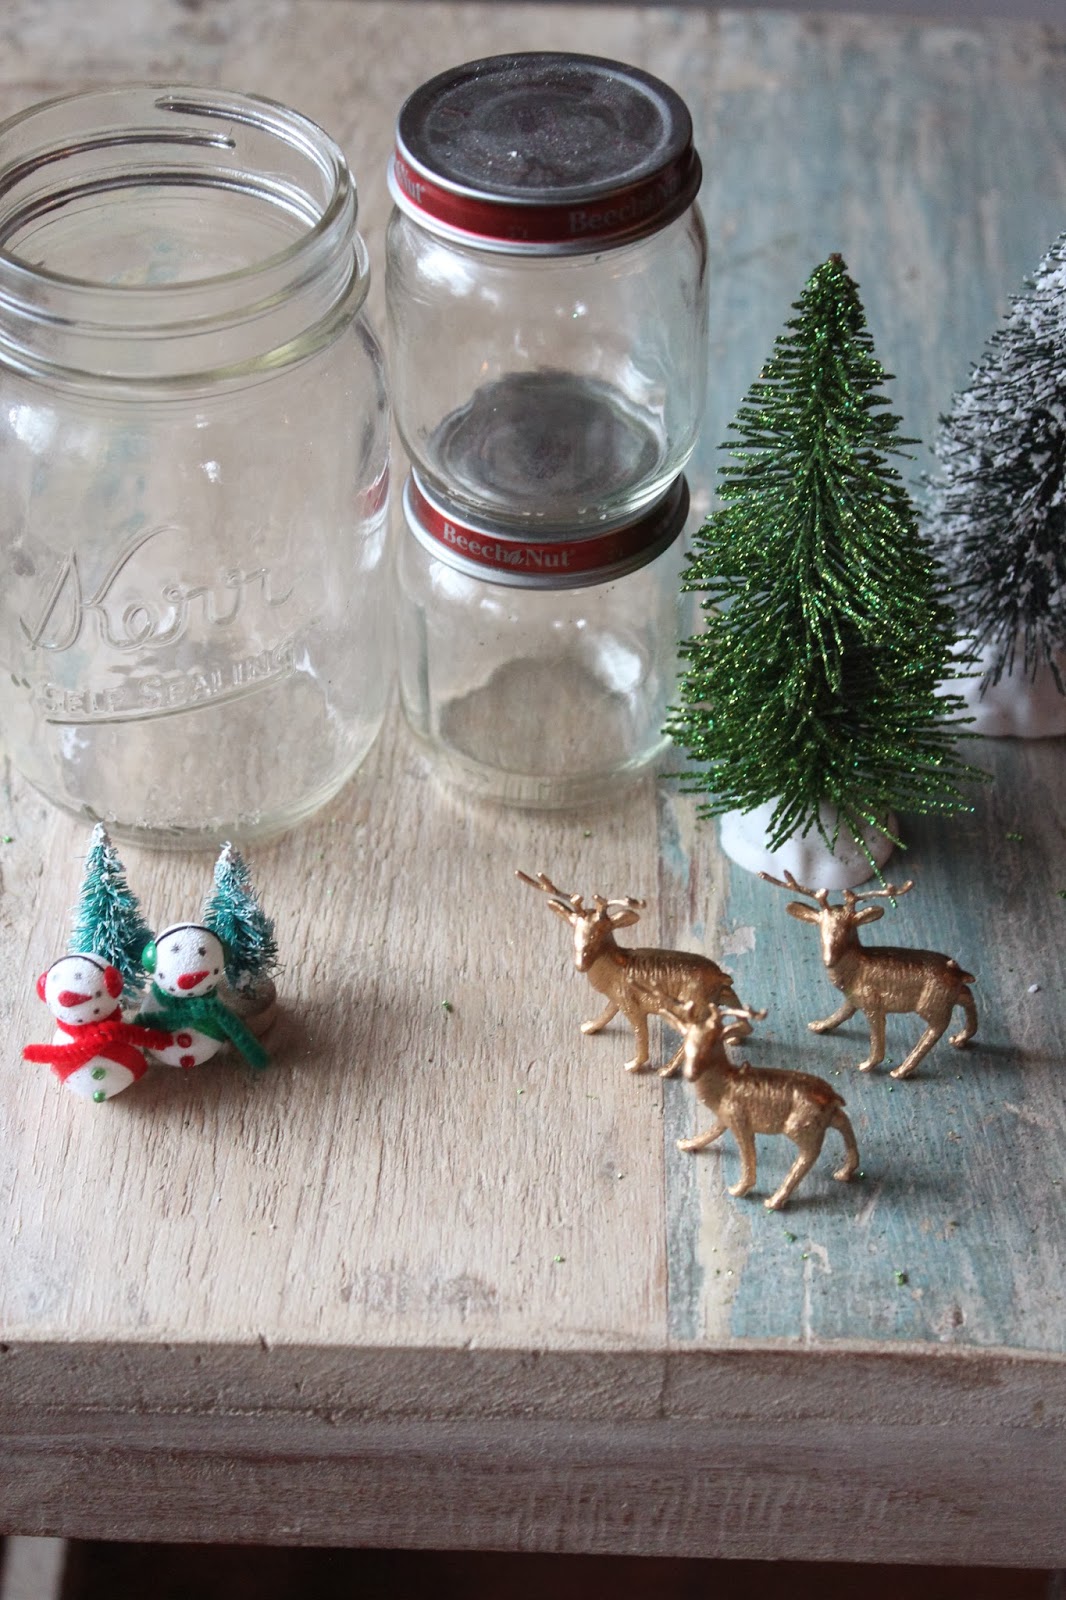
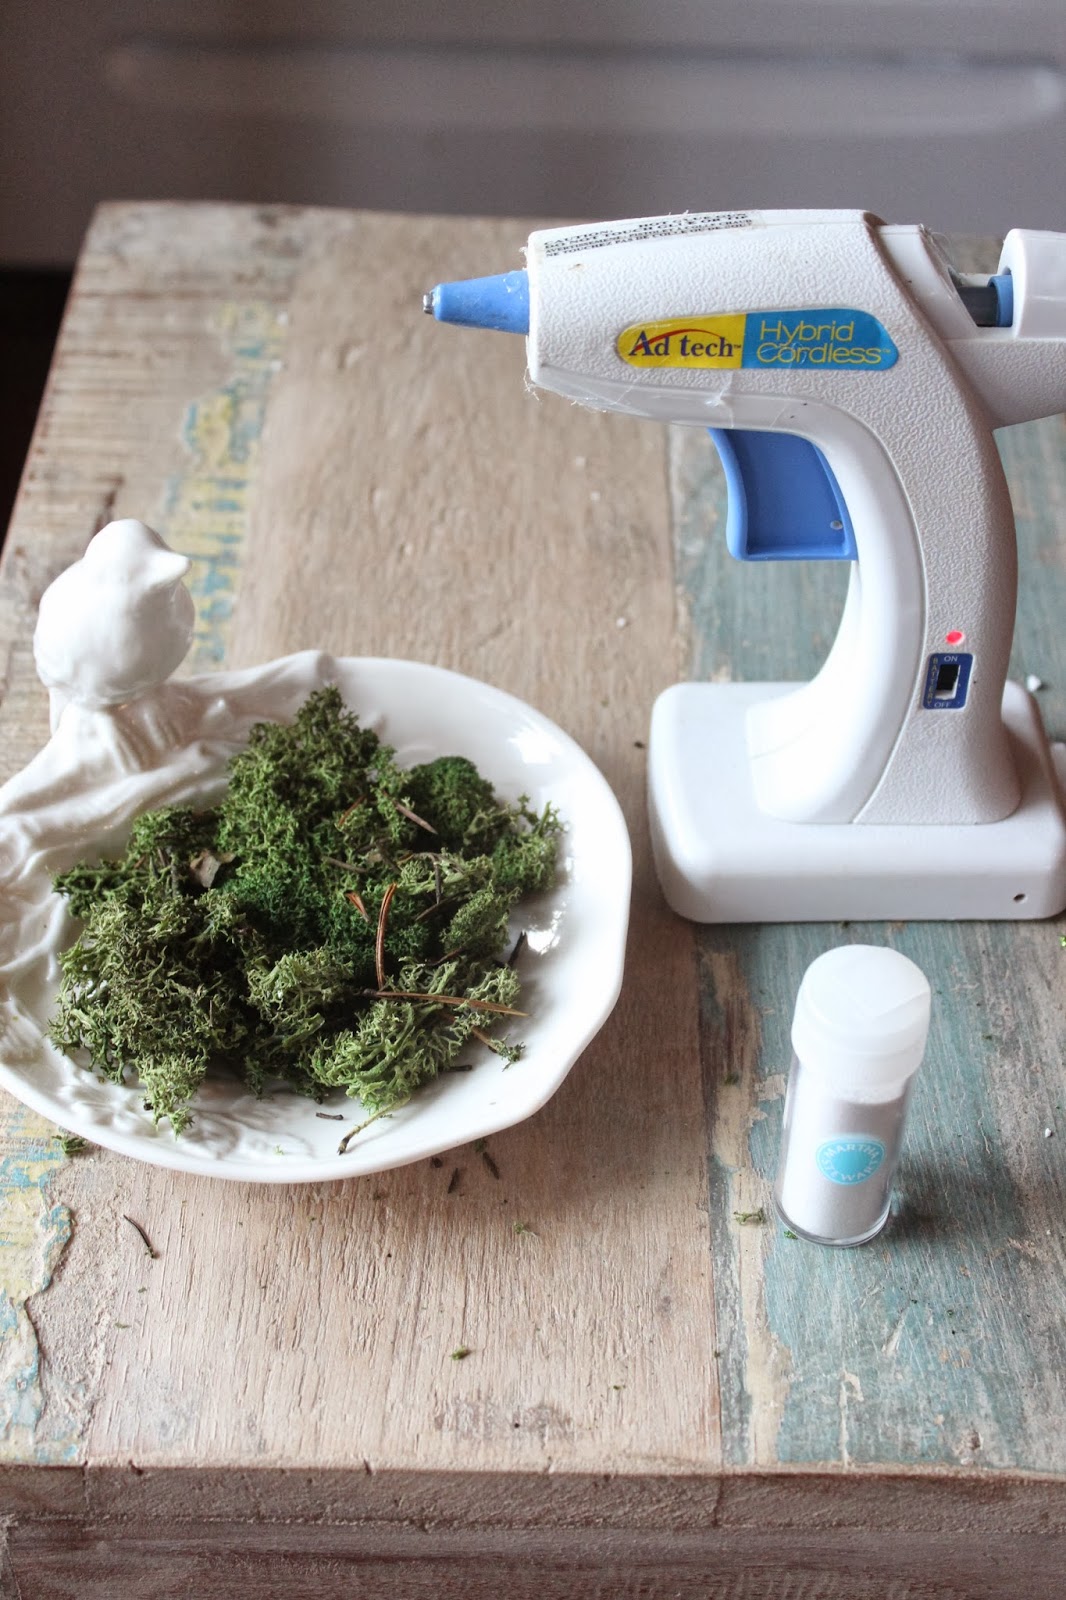
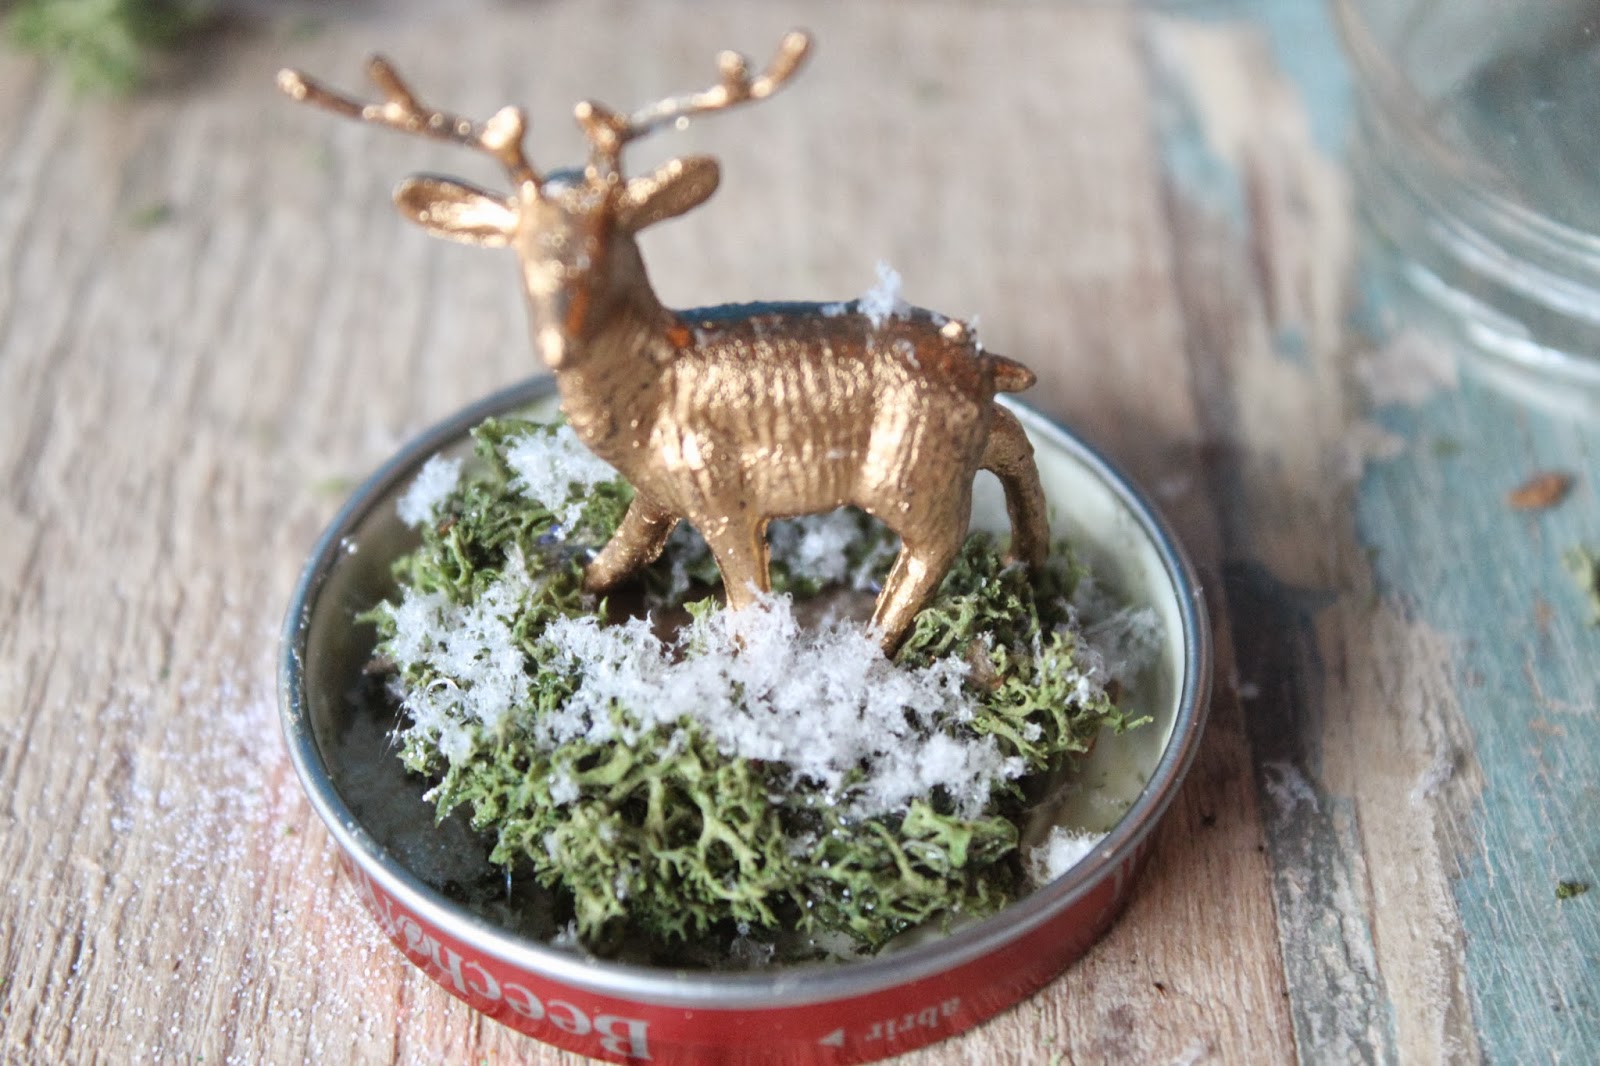
ps ... yes I still do arts and crafts all the time. Lots of fun magical things to share :)


xo Theresa
I'll post some photos of the amazing things I love and look forward to sharing with you :)

This is my No Bake Chocolate "Nice" cream cake! All natural whole food ingredients like medjool dates, coconut milk, hazelnuts, cashews & rolled oats!! Ill post all the recipe soon
About 3 years ago I became very ill. For 2 years doctors searched for the "diagnosis". Test after test I sank into a very dark place of fear and pain. As time carried on and the testing continued, I started to look for my own answers. I began with nutrition. I spent hour after hour poring over information and studies. Peoples personal stories and experiences. It wasn't hard for me to see that my eating habits were far from healthy, although I had thought they were.

Picking flowers and eating fruit. Something about the fresh scents of nature that can soothe my wild mind. Darn-it, why cant we have lilacs all year round!!!
I also began to access my lifestyle. My stress level. Was I doing things in my life that truly made me happy? That gave me a sense of Joy and Peace? Not really. I was so focused on my business and career that I was forgetting to enjoy life. I worked all day and barley slept. Even if I sat down to watch TV in the evening Id still be working. I thought if I spent anytime doing anything other then working, cleaning etc, it was time wasted.


My home reno and my handsome best friend (my husband)
We fell off our rockers and on a whim bought a 200+ heritage home that looked like AmityVille Horror house, but we reno-ed, reno-ed, reno-ed and heres a peak, our kitchen. The rest of the house is pretty amazing as well. but I'll never re-no again LOL
I remember laying in bed at night and being so wound up, all the ideas and to do's running through my head. My mind was never at rest. I took all of this into account and decided. IM GOING TO CHANGE.
A change not to impress anyone, not for any other reason but to find HAPPINESS. Medically I was told I had Lupus and Fibromyalgia. I also had sever degenerative arthritis in my spine.
I decided this was not my reality and began my path to natural wellness. I started with my diet. I said good by to all the refined sugars and oils. goodbye to all the processed foods, all the junk foods. I cleared out my pantry and fridge of all the franken-foods. I began a Whole Food Plant Based lifestyle.

ahhhh, apple ginger berry water. One of my fave. Anti inflamitory, anti oxidents, heres your fountain of youth
This I believe has made THE MOST SIGNIFICANT change in my life!!! It wasn't long before I literally felt like a new person. My pain diminished. I had energy that I have NEVER experienced in my life. I began to glow from the inside. My mind cleared. My moods shifted. The anxiety went away. I can honestly say I began a new life. The life I had always wanted.


the awesomeness that is chia pudding parfait :)
I also shifted "spiritually". I don't mean religion, but spirit. That happy place inside of us that is connected to nature and the Earth. I began to take time for myself. Took time for GRATITUDE. I realized I would be much more productive if I was happy and ultimately productivity was not the key to happiness. I slowed down. Took time to enjoy my tea. To sit in the sun and play in my garden. Listened to the wind, took my dog for walks, read books, mediation, yoga ... I began to LOVE MY LIFE.

Mediation is one of THE BEST things I have ever done. Twice a day.
So that brings us to today, where am I at? I no longer see doctors on a weekly basis. I feel amazing. Although I do have some back pain here and there, who wouldn't after 7 car accidents, yes I got in another car accident 5 months ago, it wasn't my fault :)). But between the yoga and my awesome anti inflammatory Ginger Turmeric tea I don't need any medication. I am 38 and look younger now then I did 10 years ago. I'm grateful! Grateful for having been in pain, grateful for having a second chance to live this beautiful life. Grateful to have found the healing power of food and happiness and I cant wait to share my continued journey
ps ... yes I still do arts and crafts all the time. Lots of fun magical things to share :)


The other loves of my life. My daughter Daisey, Best friend forever Bear and the fabulous dachshund Baby T (Theo)
xo Theresa